
Subtitle: Add more than ten visitors to a Group Visit in SV3 Enterprise by uploading a comma-separated values (CSV) file.
Before you start
- Any role at the Location can schedule a Group Visit.
- Each host email in the file must belong to an existing user at that Location.
- Have a spreadsheet application or text editor available.
- For the CSV File - Keep the required columns:
First Name,Last Name,Start Date,Start Time,End Date,End Time, andHost Email.
Note: Citizenship is a field on the Visit Type, not a Location setting. If the Visit Type you choose collects it, each visitor selects their own citizenship at check-in. You can't set it while scheduling, and the field stays empty on the visit until the visitor arrives.
Steps
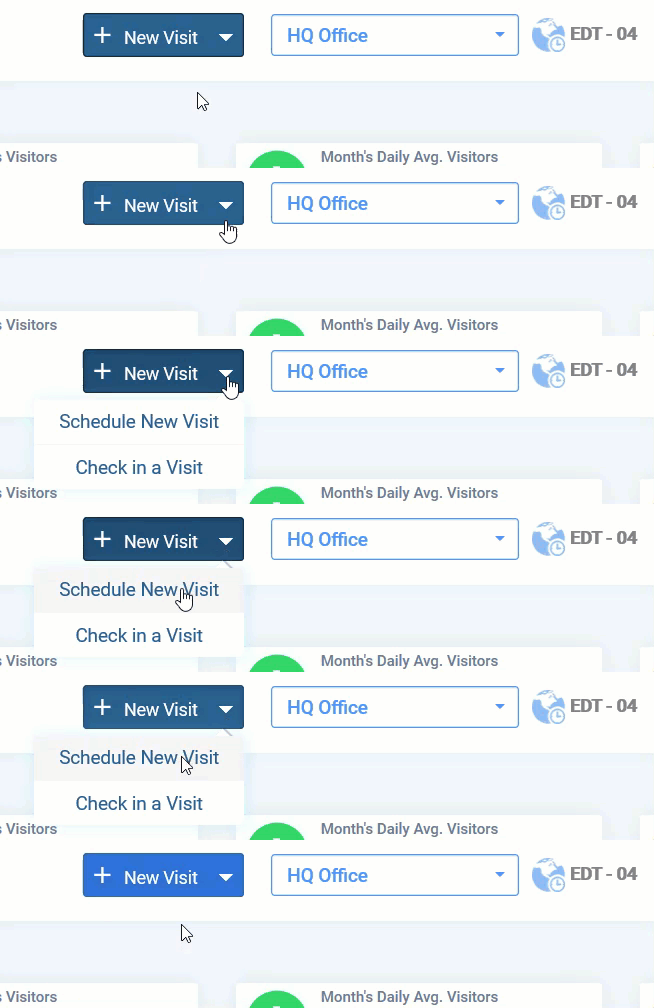
- On the Dashboard, click New Visit.
- Select Schedule New Visit. The Schedule a Visitor window opens.
- Click the Import Visitors tab.
- Select a Location.
- Select a Visit Type.
- Select a CSV date format - This should match your local regional date/time format.
- Click Download example CSV file to download the sample file.
- Open the file in a spreadsheet application or text editor and add your visitor details.
- Save the file in CSV format.
- Click Upload & Process.
- Select your edited file from the screen that appears.
Note: If you edit the file in Microsoft Excel, format the start and end dates with hyphens rather than slashes, for example 2026-09-14.
Result
SV3 Enterprise returns you to the Dashboard and processes the file in the background. Your visitors appear on the Dashboard when processing finishes. A large list can take several minutes.
Related
- Schedule a Group Visit for ten or fewer visitors
- Set up Visit Types for a Location
- Schedule a Recurring Visit
Comments
0 comments
Article is closed for comments.